The following instructions will allow you to edit static text pages on your website.
Please follow the instructions thoroughly and avoid skipping any steps.
We recommend the following changes be applied on a Desktop computer using a large screen. The page is not suited for editing on a mobile device.
Log in
When the website is live against the domain name you will be able to edit the static text pages on the website using the login credentials supplied to you by the Design team.
- Access the login page by entering /login to the end of your domain name in a browser address bar.
- Enter the username and password
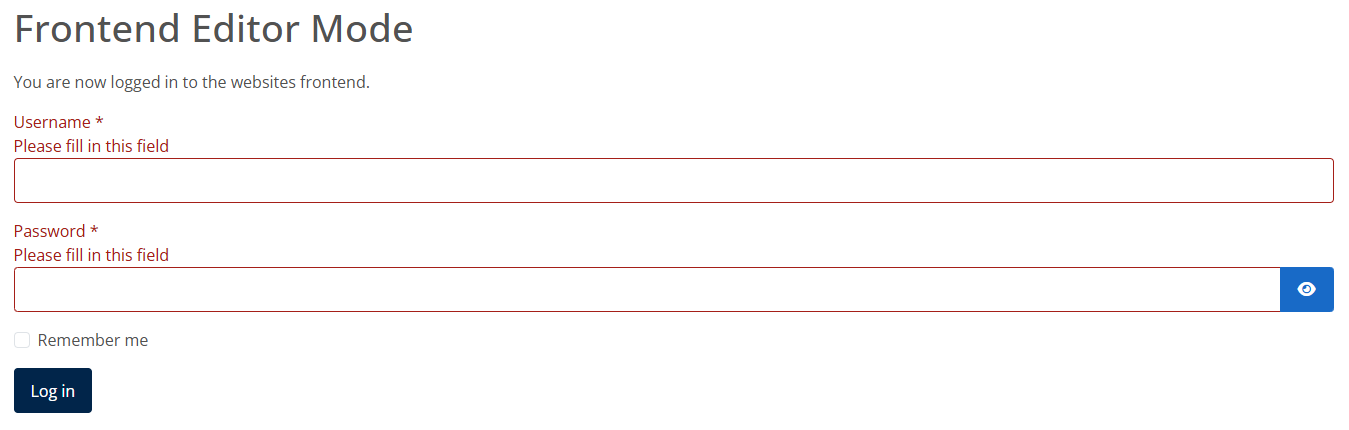
You should now be logged in to the website.
Please note:
* While logged into the website you will not be able to see any property data or its features when browsing the property pages. This is deliberate, but does not affect what the public can see when viewing the website front-end. Once logged out of the website you will be able to browse the full pages normally again.
** Please keep the login credentials safe and avoid giving them out to other people.
*** Any changes applied to the website via this method are at your own risk. Resolving any problems that arise as a result of changes applied by you using the blog editor may incur a charge by us to resolve.
Edit a pages text content
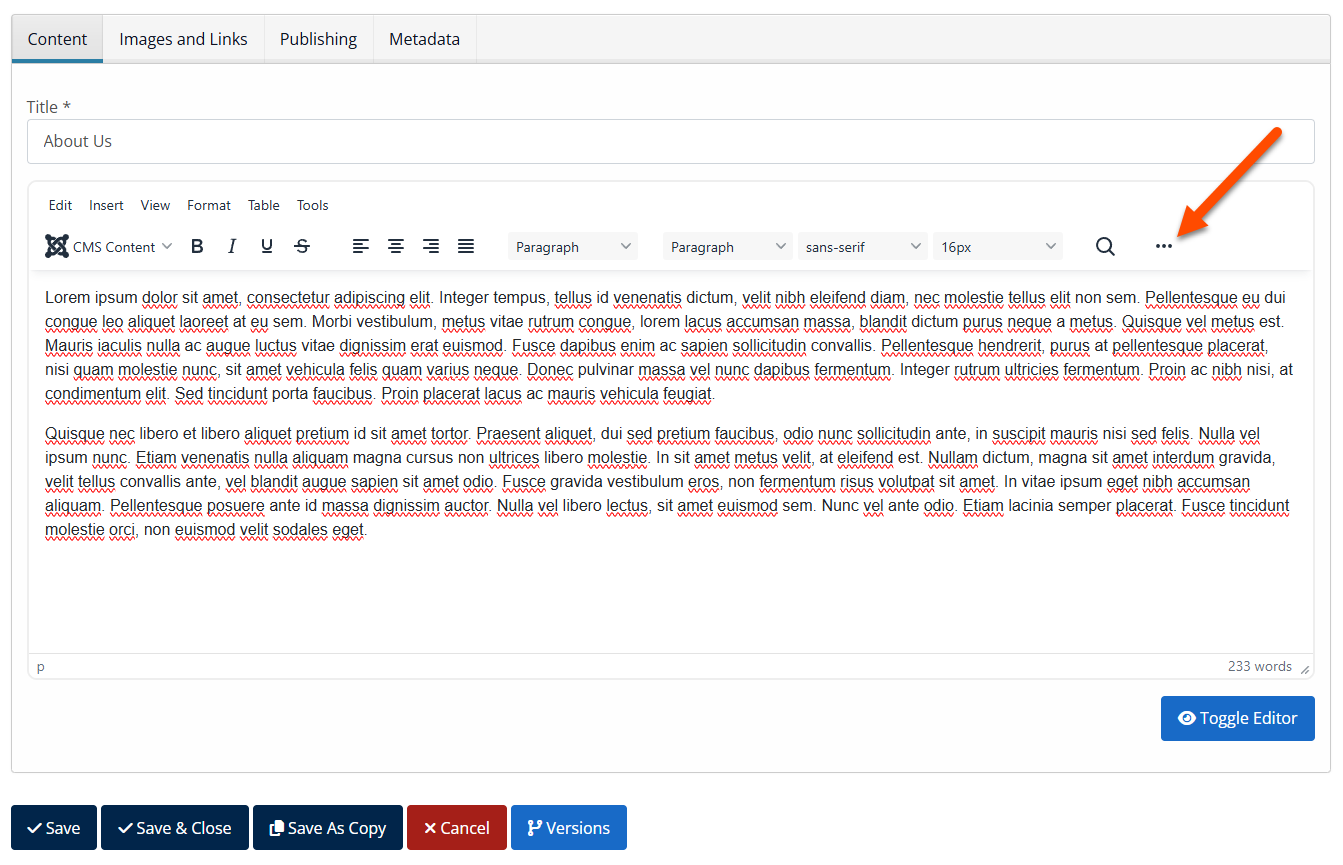
- Navigate to the websites main menu whilst viewing the Home page and click in to your chosen page i.e. 'About Us'
- When the page has loaded an 'Edit' icon will appear in the top right corner of the pages content:
- Click this and the text editor will open.
- By clicking the 3 dots as illustrated it will expand the editor controls, allowing you to see all.

Format text content
There are a series of options available for formatting text content and hovering over the available buttons will provide a description of what each button does. These are standard options in most common 'wysiwyg' web editors, so you may be familiar with some.
The text and headers are styled by the website’s stylesheet, so you do not need to apply further text styling as this is already taken care of. Doing so may compromise the appearance of the page.
Upload and embed images to the website 'Media Gallery'
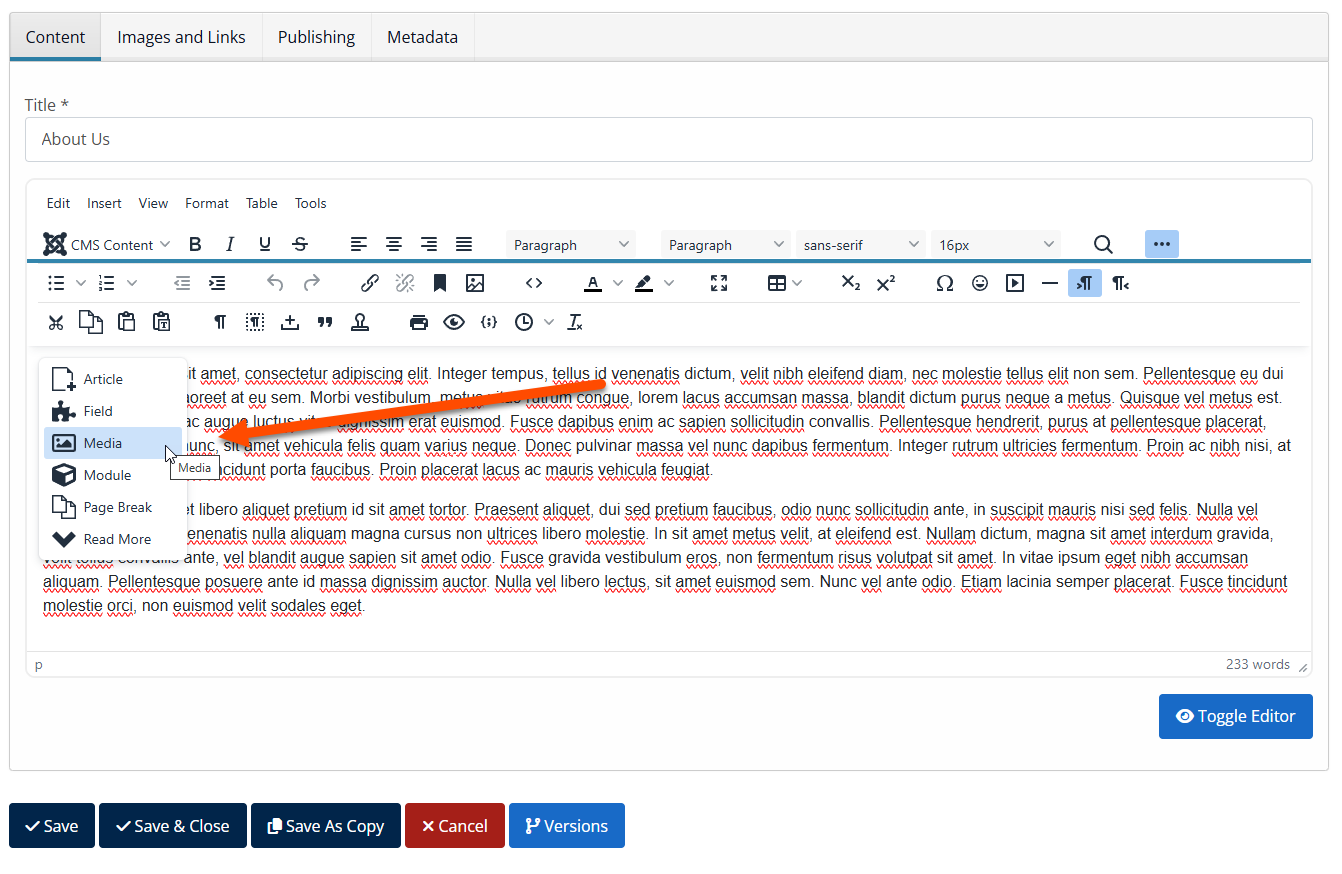
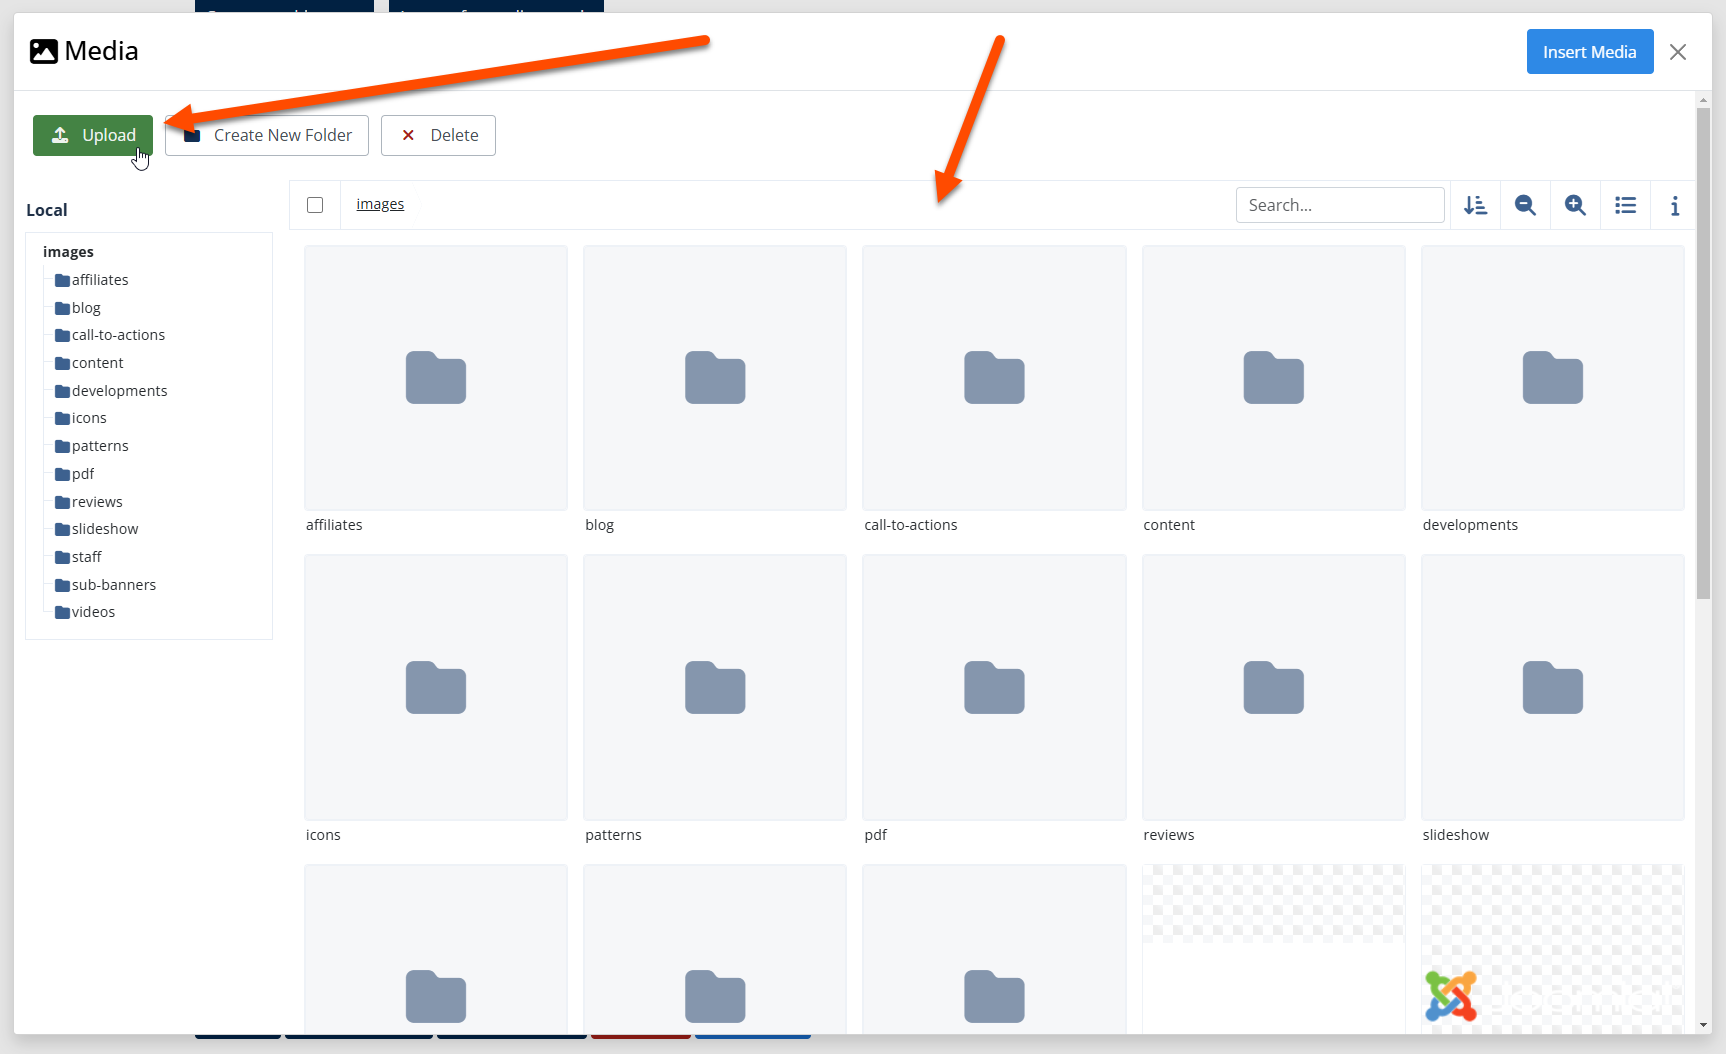
- Click on the 'CMS Content' dropdown situated to the top left of the editor controls, and select 'Media':
- You will be presented with the Media Gallery in a pop-up box.
For generic page content, click in to the folder called 'Content' which will ensure you upload any content imagery to this directory (to keep things tidy!) - Locate the 'Upload' button in the top right corner, as illustrated above.
- Click this and locate the locally saved image on your computers hard drive, and upload. This will upload the image to the chosen folder in the websites Media Gallery. *If you are replacing an image that already exists then give it the same filename and format as is already displayed within the Media Gallery.
- Locate the new image within the folder, select and click 'Insert'.
Compressing images before upload
It is important to correctly crop images to a sensible size before they are uploaded to the website and also further compress them too. This is to ensure the web page continues to load in a timely manner, which can be compromised by overly large images.
Images can be cropped locally on your PC using a program such as Paint or equivalent. Please refer to the sample 'placeholder' images you are given alongside your login credentials which demonstrates the image sizes to follow for your website
Images can be compressed using the following website - https://compressor.io - A handy 3rd party tool for compressing images for web use.
Close the text editor
It is important to follow these steps to avoid locking yourself out of future article edits.
- When you are finished editing an article, click the 'Cancel' or 'Save' button to exit the editor. This makes sure the article is 'checked-in' to the Content Management System.
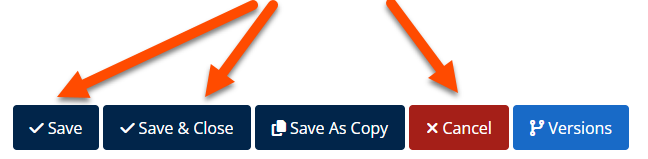
*Failure to do this will lock the page from future edits and will require our input to unlock the page via the backend.
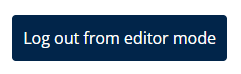
Log out of the website
- Make sure you have saved any changes and click 'Save' or 'Cancel' within the editor.
- Locate and click the 'Logout from editor mode' button
- Click the Log Out button which will now log you out of the frontend editor and restore all pages as the public visitor will see.