The following instructions will allow you to create/edit/delete blog posts on your website.
Please follow the instructions thoroughly and avoid skipping any steps.
We recommend the following changes be applied on a Desktop computer using a large screen. The page is not suited for editing on a mobile device.
Insert intro images (listings page)
Log in
When the website is live against the domain name you will be able to edit the website blog feature using the login credentials supplied to you by the Design team.
- Access the login page by entering /login to the end of your domain name in a browser address bar.
- Enter the username and password
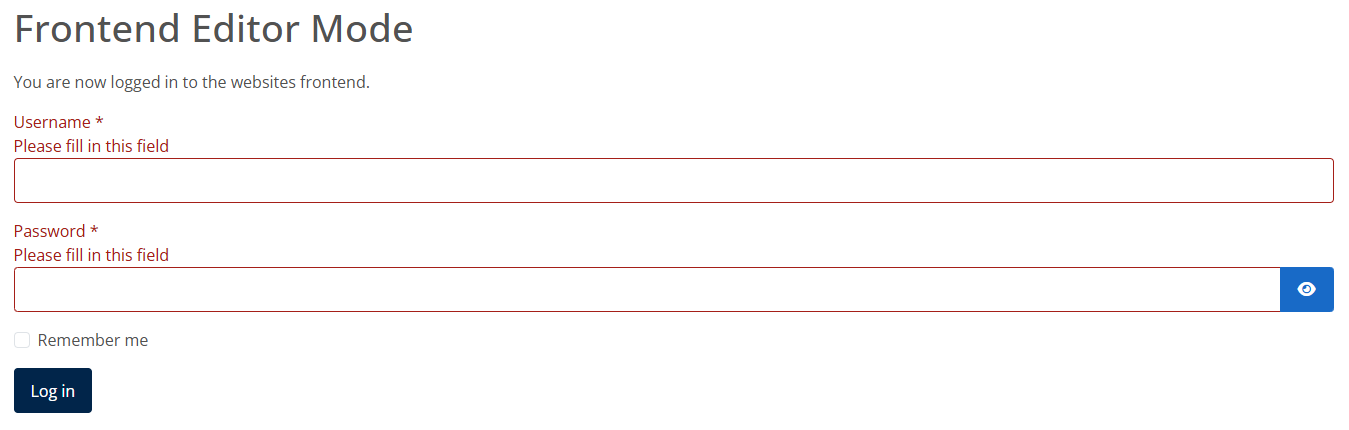
You should now be logged in to the website.
Please note:
* While logged into the website you will not be able to see any property data or its features when browsing the property pages. This is deliberate, but does not affect what the public can see when viewing the website front-end. Once logged out of the website you will be able to browse the full pages normally again.
** Please keep the login credentials safe and avoid giving them out to other people.
*** Please also avoid changing the above password. It is important the password remains secure, as a weak password could compromise the security of the website.
**** Any changes applied to the website via this method are at your own risk. Resolving any problems that arise as a result of changes applied by you using the blog j5-editor may incur a charge by us to resolve.
Create a new blog post
Click here if you instead need to edit an existing post.
- At the top of the page click the button called ‘Create a New Blog Post’.
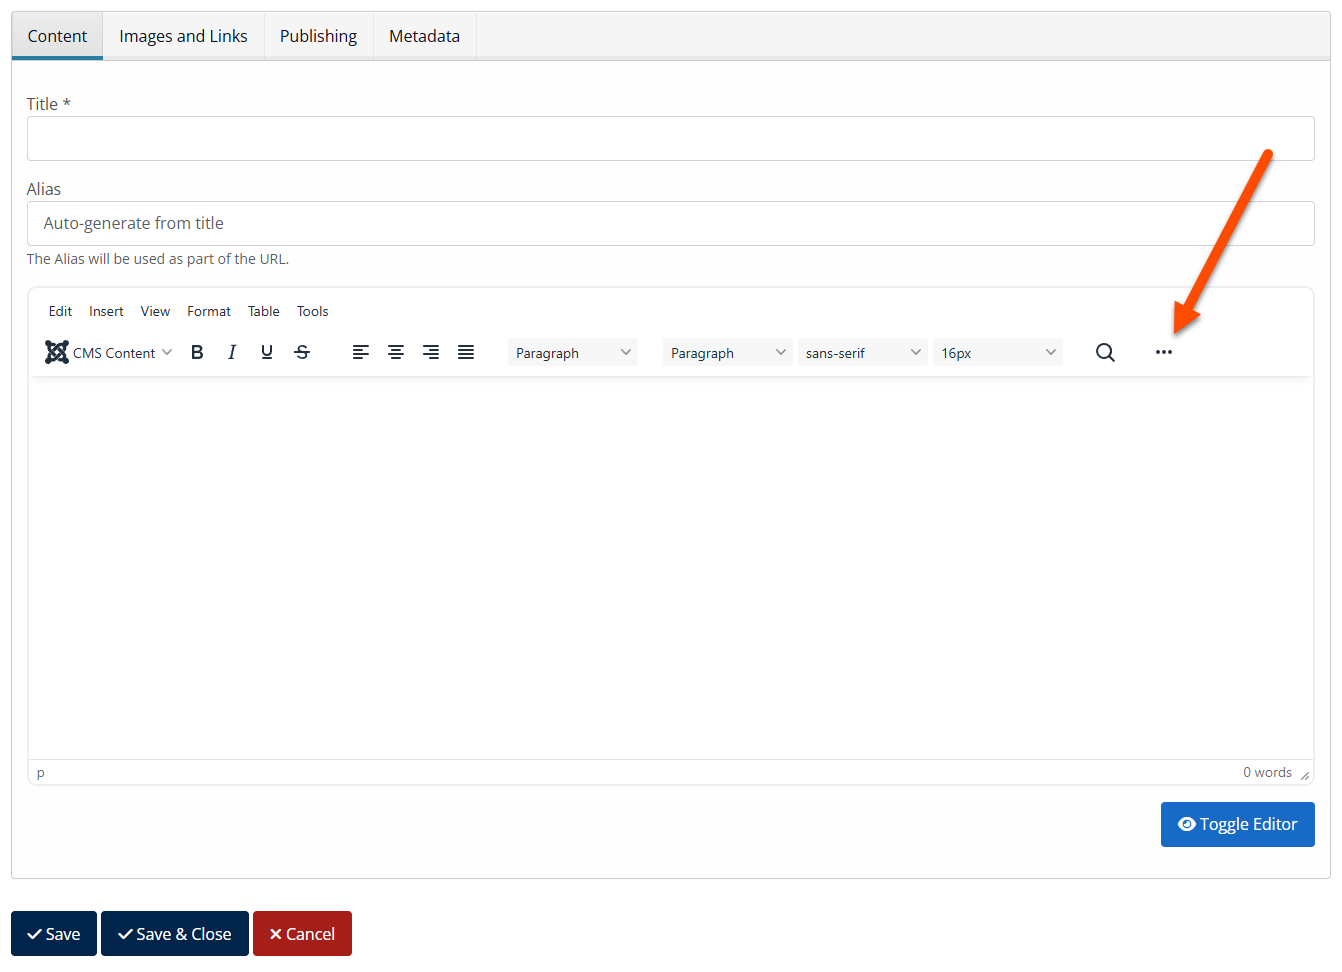
- This will open up a new text j5-editor window, which is the new blog post:
- Give the post a Title (before you can save).
- Then, enter your text content into the area below:
- By clicking the 3 dots as illustrated it will expand the j5-editor controls, allowing you to see all.

Top Tip:
Save a copy of your blog post along the way, in a 'Notepad' file on your computer. You never know when your internet connection might drop out causing you to lose your unsaved article. If you click the HTML tab on the j5-editor this will allow you to copy and save the entire HTML content generated for your article, saving you time if its ever needed.
Format text content
There are a series of options available for formatting text content and hovering over the available buttons will provide a description of what each button does. These are standard options in most common 'wysiwyg' web j5-editors, so you may be familiar with some.
The text and headers are styled by the website’s stylesheet, so you do not need to apply further text styling as this is already taken care of. Doing so may compromise the appearance of the page.
Top Tip:
Try to avoid copying in content from other websites or Word documents. They will often contain hidden rogue formatting which will cause problems when pasted into a web page, causing unexpected results. If you are in doubt, clean any text content by pasting into Notepad first, which will remove it all.
Add a 'Read More' button to the blog post ( to split article content )
If you would like to display a short paragraph of text on the blog listings page, and the full article upon clicking into the blog post, this can be achieved using the ‘Read More’ functionality.
- With your full block of text entered into the j5-editor place the mouse cursor after the first intro paragraph of text and hit 'return'. This will create an additional paragraph space in-between what will be the introduction paragraph and the full article.
- With the cursor still in place, click the 'CMS Content' dropdown and then the 'Read More' button as illustrated below:
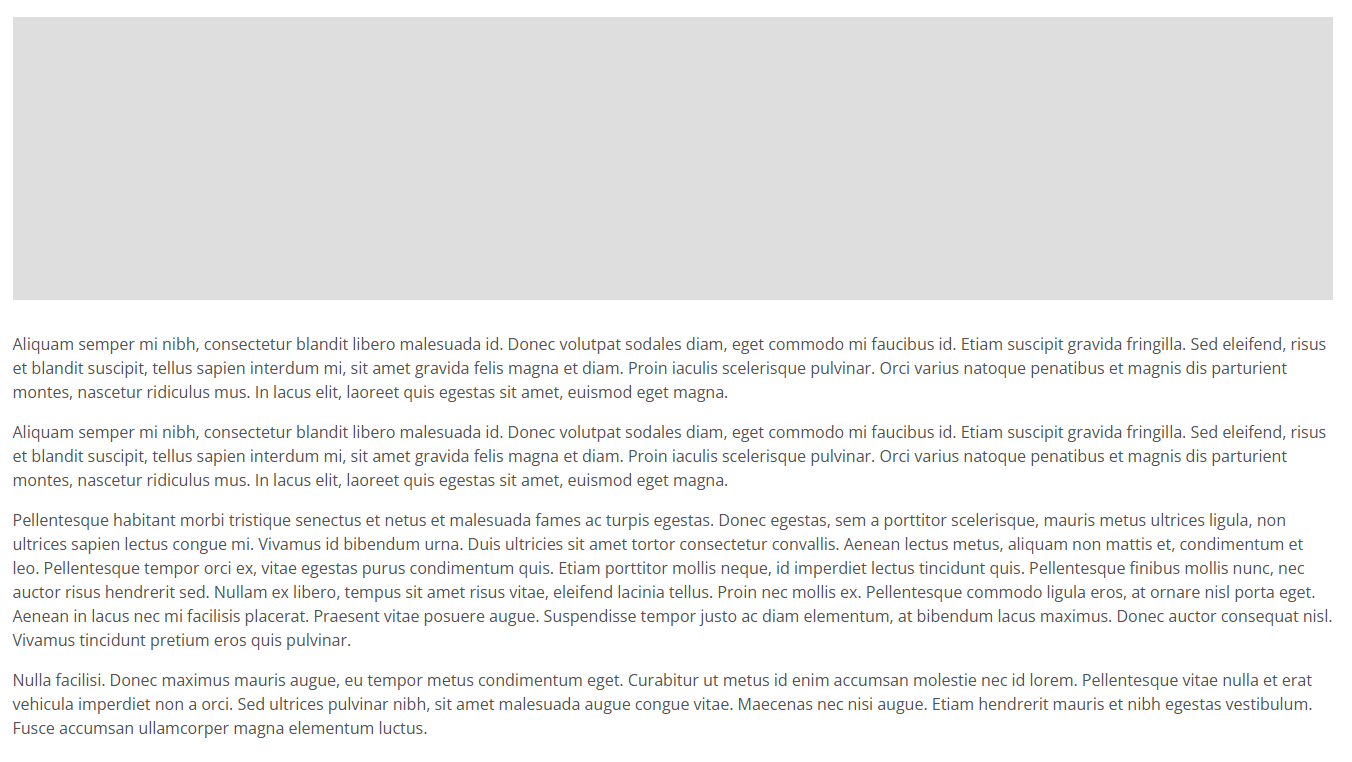
- You will see a red horizonal line appear within the j5-editor, which represents where the button will appear on the frontend article.
- Save the blog post.
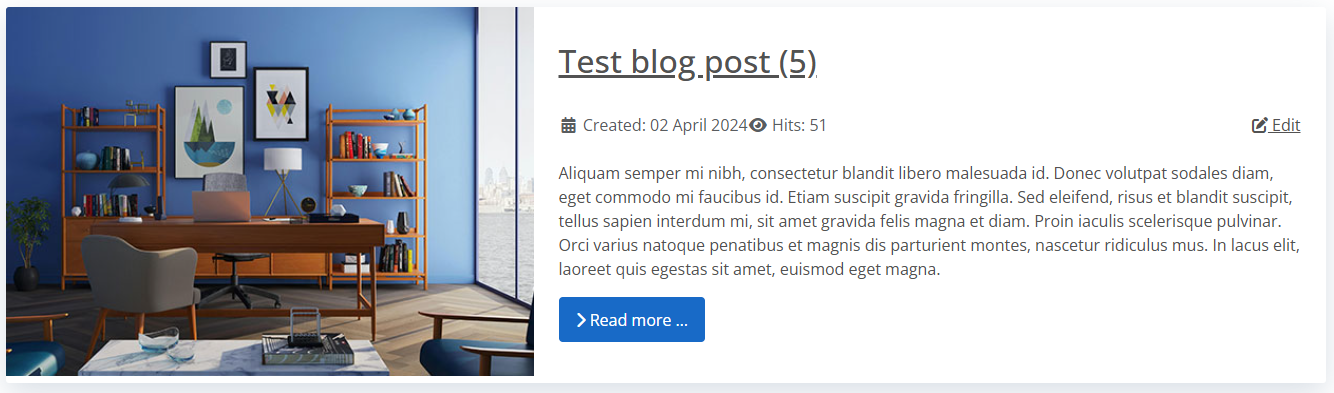
- On the front-end blog post you will now see a 'Read More' button appear on the blog listing, encouraging the end user to click to read the full article. This stops the article from appearing to text-heavy on the listings page and allows you to achieve an orderly consistant display.
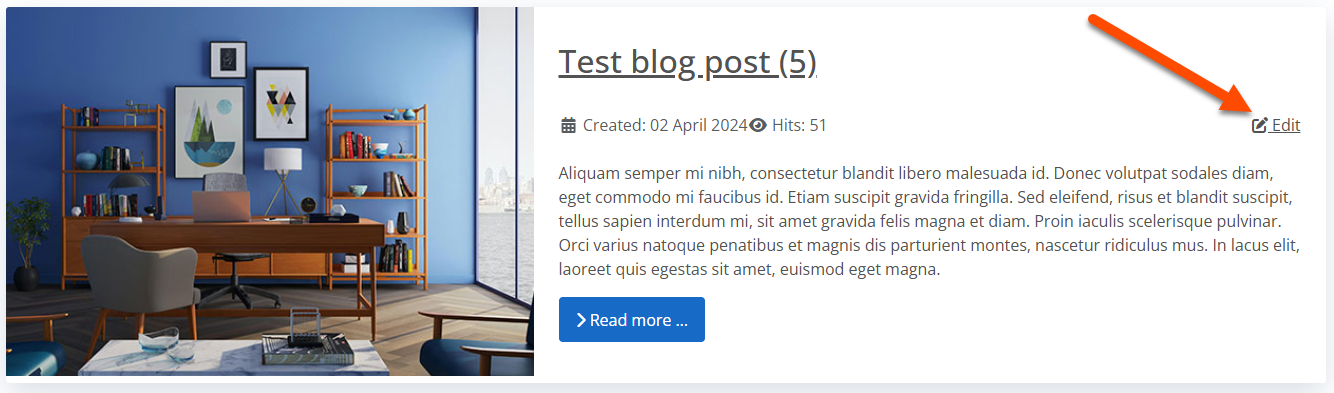
Depending on the chosen theme, the blog post should appear similar to the below;

Insert an intro image (listings page)
- Prepare an image locally sized at 400 x 300 pixels.
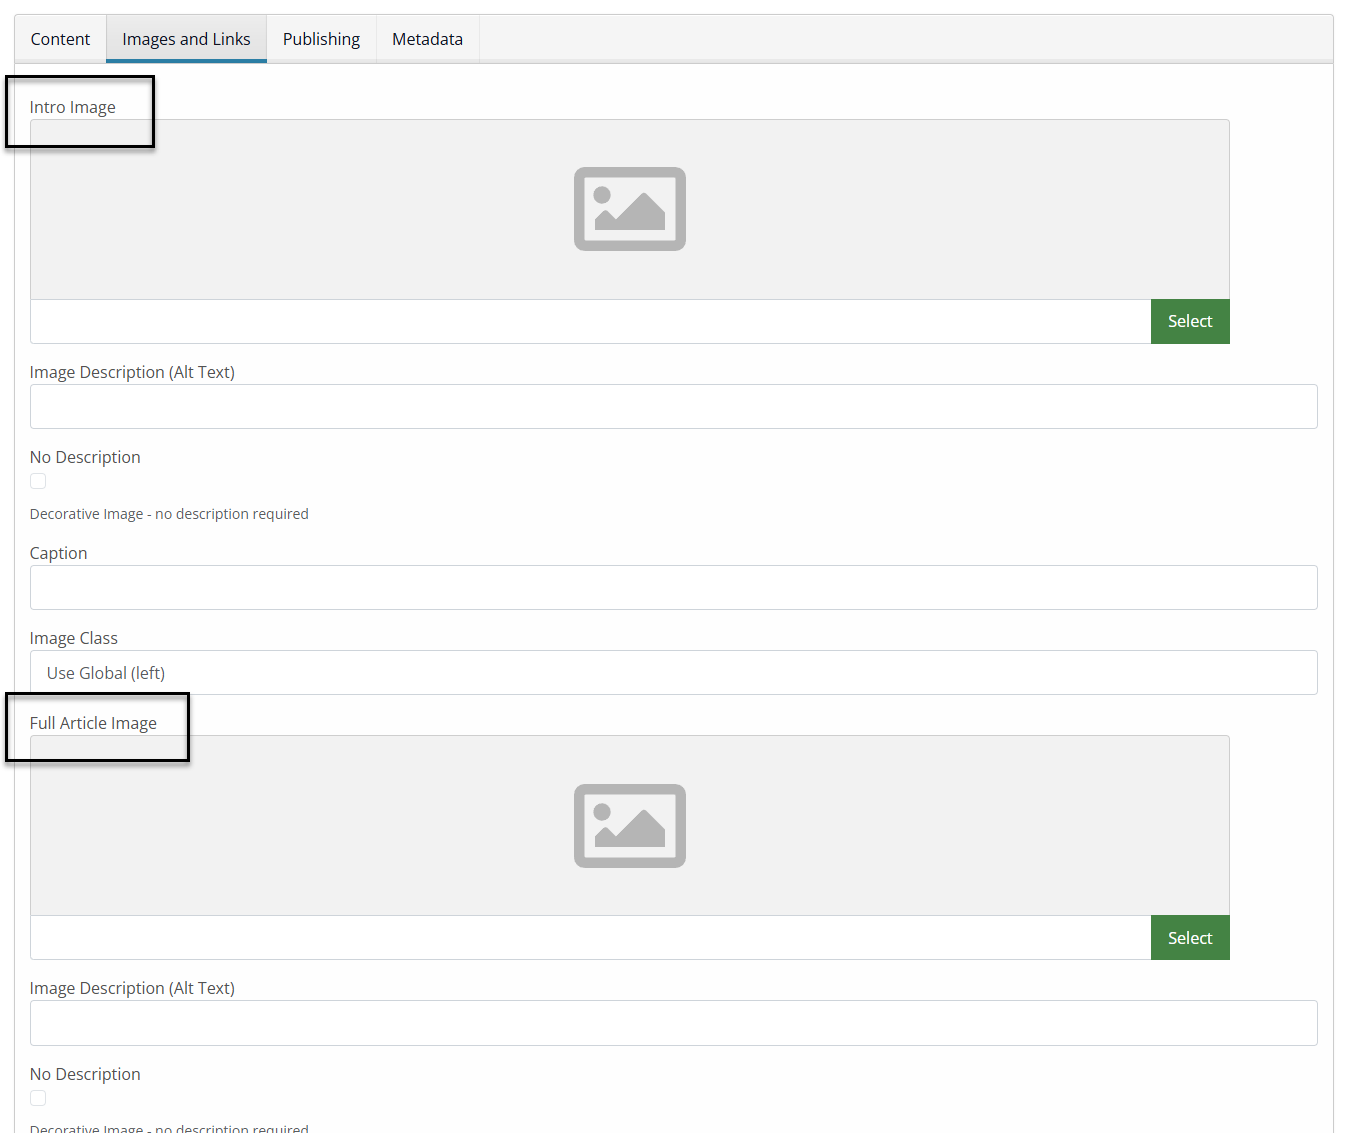
- Click in to the ‘Images and Links’ tab along the top of the j5-editor.
- You will see two options to add an 'Intro Image' and a 'Full Article Image' as per the below illustration.
- To add an intro image to the post that will display on the listings page, click 'Select' on the upper 'Intro Image' selection.
- You will be presented with the Media Gallery in a pop-up box. On the left side click 'Images' and then click into the 'Blog' folder;
- Once you are within the 'Blog' folder, click 'Upload' to locate an image file on your local device hard drive.
- Locate the newly uploaded image, select it, then 'Insert'.
- Save the blog post.

This will now display an image alongside the intro text on the initial listings page:
*It is important to resize images on your computer locally to the correct dimensions. Failure to do this, and uploading images which are too big in both dimensions and file size could cause problems with the page layout or load times.
** Appearance may vary depending on theme design.
Insert a full article image (blog post)
- Prepare an image locally sized at 1400 x 350 pixels.
- Click in to the ‘Images and Links’ tab along the top of the j5-editor.
- You will see two options to add an 'Intro Image' and a 'Full Article Image' as per the below illustration.
- To add an intro image to the post that will display on the listings page, click 'Select' on the upper 'Intro Image' selection.
- You will be presented with the Media Gallery in a pop-up box. On the left side click 'Images' and then click into the 'Blog' folder;
- Once you are within the 'Blog' folder, click 'Upload' to locate an image file on your local device hard drive.
- Locate the newly uploaded image, select it, then 'Insert'.
- Save the blog post.
This will now display an image alongside the intro text on the initial listings page:
*It is important to resize images on your computer locally to the correct dimensions. Failure to do this, and uploading images which are too big in both dimensions and file size could cause problems with the page layout or load times.
** Appearance may vary depending on theme design.
Publishing Options
Status
You can choose when to publish a blog post via the ‘Publishing’ tab situated above the j5-editor.

- Status– allows you to choose whether the blog post is published (live on the website), archived or trashed (deleted).
- Published – Put the blog post live on the websites Blog page.
- Unpublished – This will remove it from the blog page, but will not delete the post from the backend of the website.
- Archived – This will remove it from the blog page, but will not delete the post from the backend of the website. It will instead move the post into ‘archive’. This is the best option to choose if you do not want to fully delete the article, as it keeps the blogs posts tidy within the content management system.
- Trashed – This will fully delete the post from both the web page and backend of the website. Select this option if you will never want to use the post again. *Once deleted it cannot be recovered.
Other Options
- Category– allows you to choose which category/page the blog post is published to. This is only usually relevant when multiple blog pages are in use, as the category will determine which page they appear on. For a single blog page, the 'Blog Posts' category will be the default.
- Publish Start/End Dates– allows you to choose when the blog post is published to the frontend of the website for public viewing. If you do not define anything here it will post immediately.
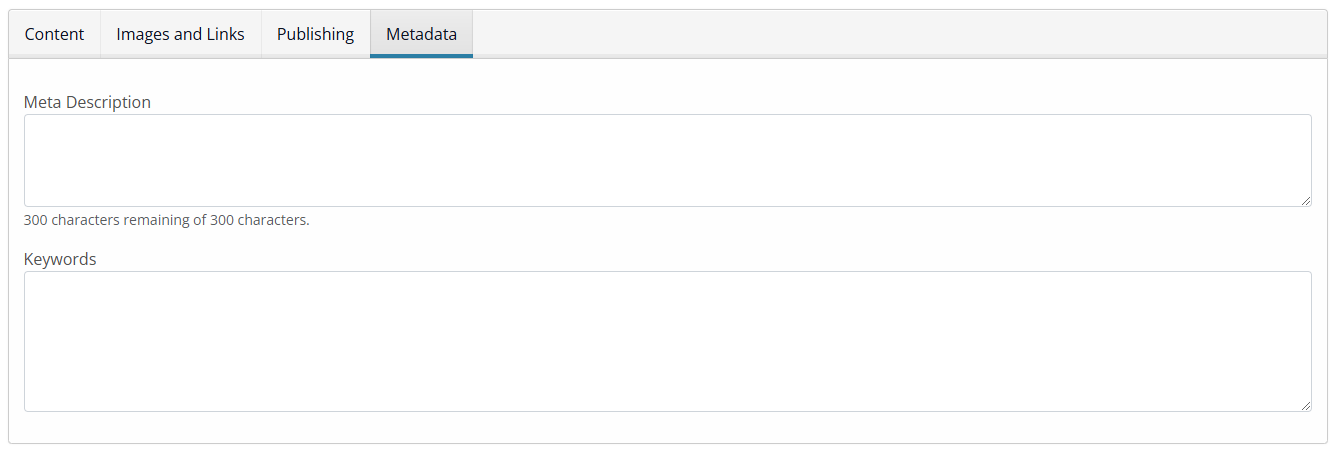
Meta data
It is advisable to enter a Meta Description for each blog post to aid search engine optimisation:
Please refer to our online SEO Guide for more information on how best to populate these fields.
Edit an existing blog post
- Login to the frontend of the website via the login page. Enter /login to the end of your domain name in the browser address bar.
- Enter the username and password.
- From the websites main menu navigate to the blog/news page on your website and the blog post you wish to edit, and click the cog button in the top right corner
- The text j5-editor will open and from here you can make and save your changes to your chosen blog post. This can be repeated for each post that is on the page.

*Make sure to click the 'Cancel' or 'Save' button to exit the j5-editor correctly. This makes sure the article is 'checked-in' to the Content Management System and any change is committed.
Delete a blog post
- Click in to edit the blog post
- Navigate to the 'Publishing' tab in the top sub menu
- Change the 'Status' to 'Trashed' or 'Archived'
- Click 'Save' which will remove it from the front-end of the website

Close the text j5-editor
It is important to follow these steps to avoid locking yourself out of future article edits.
- When you are finished editing an article, click the 'Cancel' or 'Save' button to exit the j5-editor. This makes sure the article is 'checked-in' to the Content Management System.
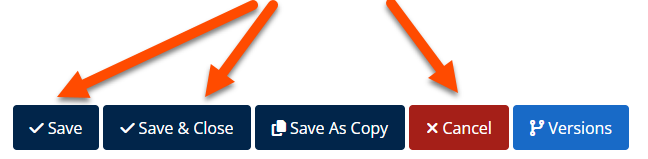
*Failure to do this will lock the page from future edits and will require our input to unlock the page via the backend.
Log out of the website
- Make sure you have saved any changes and click 'Save' or 'Cancel' within the j5-editor.
- Locate and click the 'Logout from j5-editor mode' button
- Click the Log Out button which will now log you out of the frontend j5-editor and restore all pages as the public visitor will see.