
The following instructions will allow you to create/edit/delete customer reviews on your website.
Please follow the instructions thoroughly and avoid skipping any steps.
We recommend the following changes be applied on a Desktop computer using a large screen. The page is not suited for editing on a mobile device.
Log in
- Access the login page by entering /login to the end of your domain name in a browser address bar.
- Enter the username and password
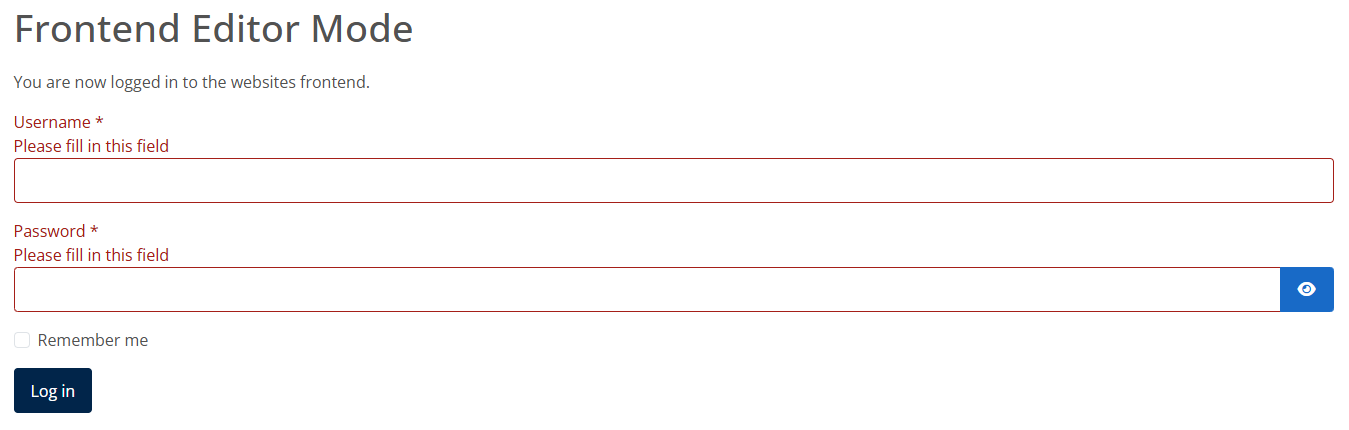
You should now be logged in to the website.
Edit Affililiate/Member Logo's
- Navigate any page where the affiliate or member logo's appear within the bottom footer.
- Hover over the ‘logo's’ and an additional ‘Edit’ button will appear to the right which you should click in to edit:

- You will be presented with the following:
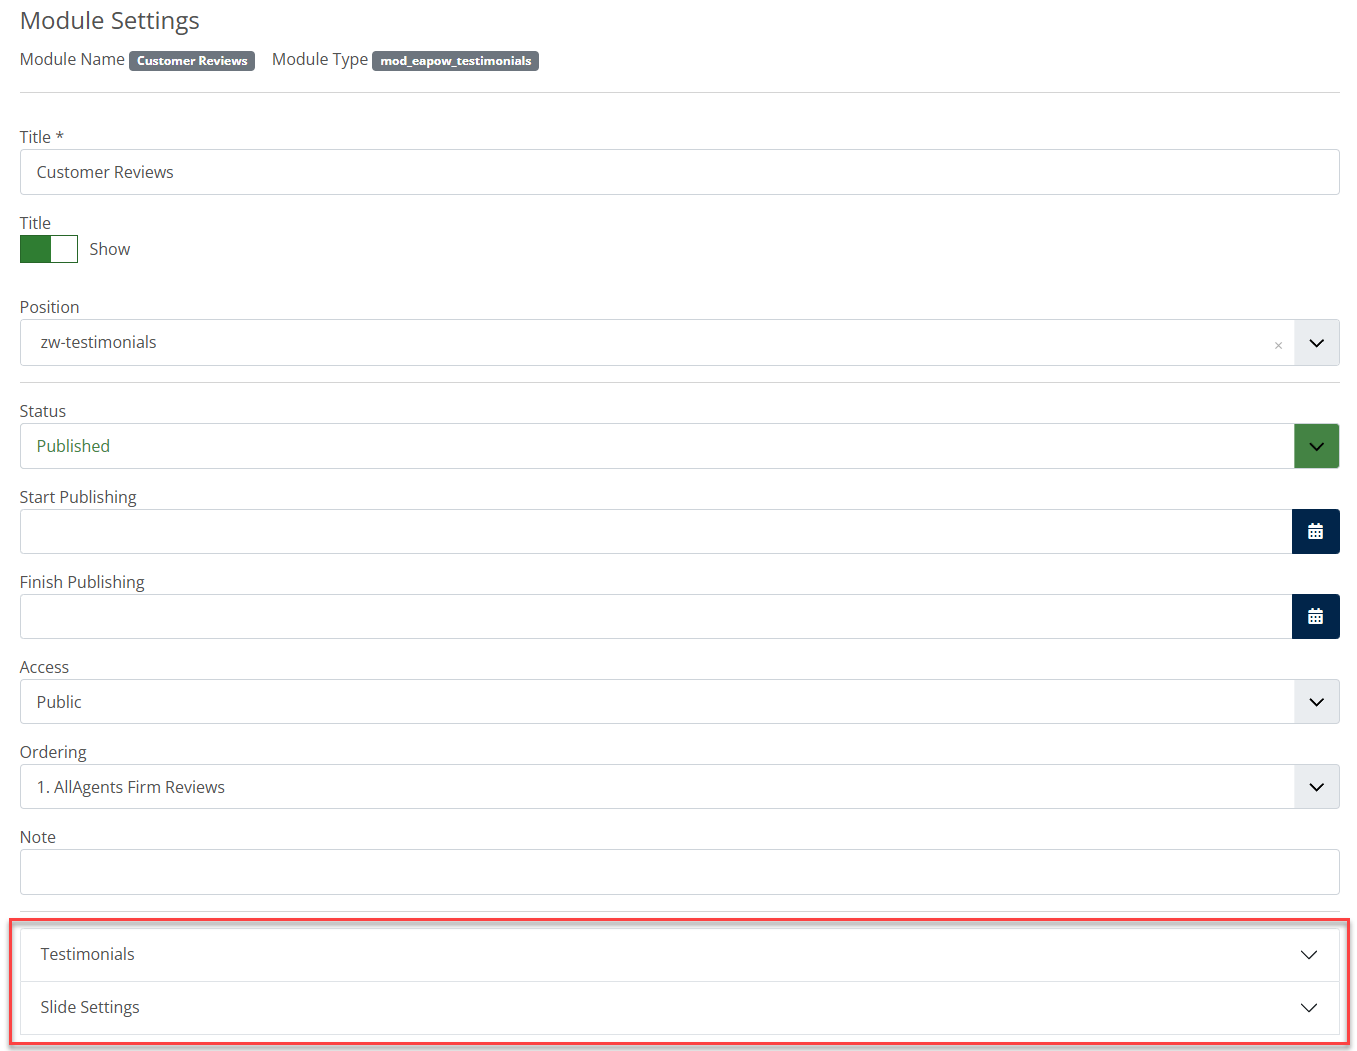
*The only items you should amend within the module are highlighted above. Amending anything outside of this could cause problems with how it displays on the frontend of the website, therefore please avoid.
- Click ‘Options’ and you will be presented with the following:
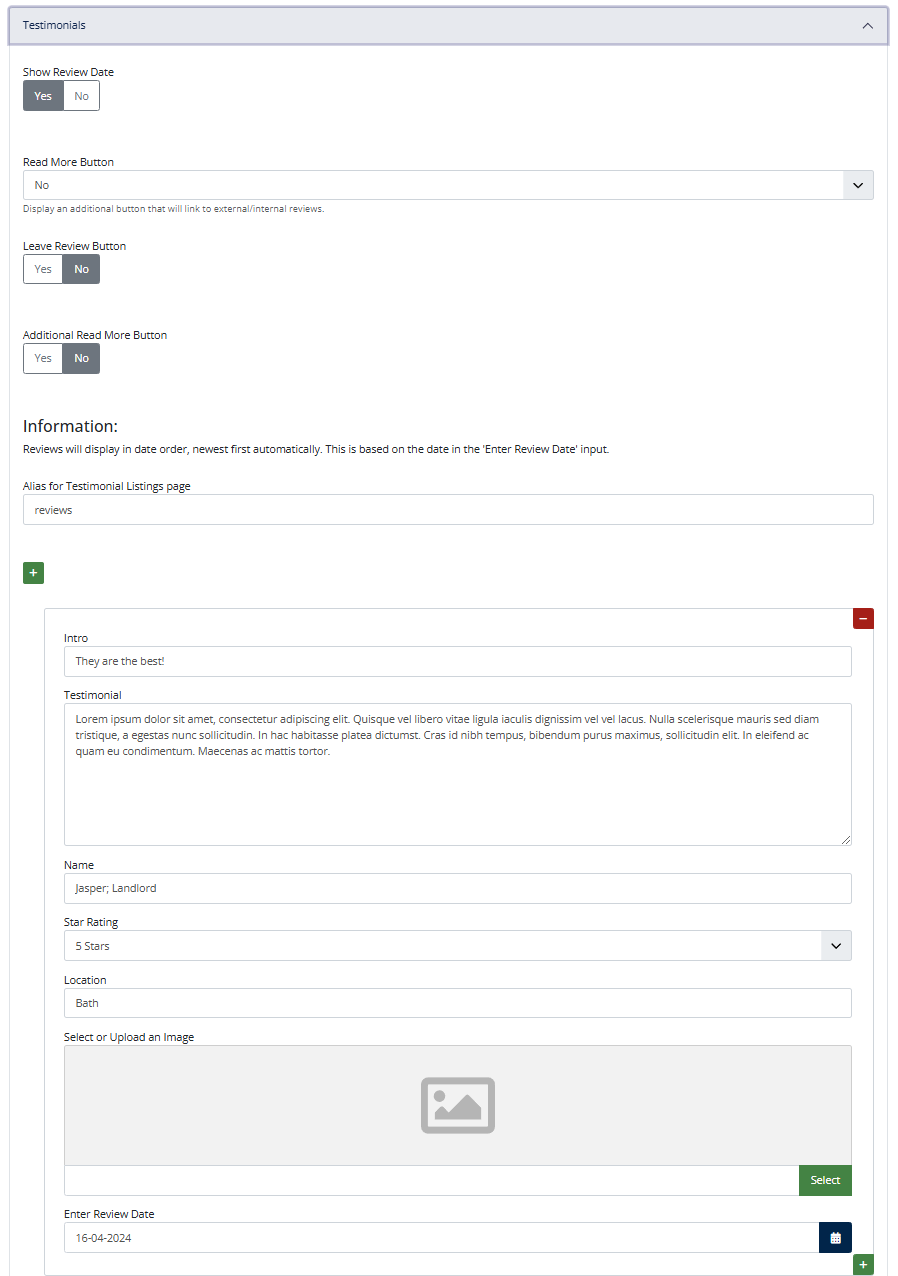
It will show each logo that appears in the slider.
- The following buttons will allow you to add (green) or remove (red) logo's.


Add a (pre-defined) new logo
We have a pre-defined list of logo's available to choose from which pull from a central repository allowing us to easily update them when new versions become available. If you need to add a new pre-defined logo;
- Click the green plus symbol below where you want it to appear. This will all a new row to the existing list.
- Under the 'Select Portal/Affiliate' column brows the new empty field to locate the logo of your choice and select.
- If you do not wish to add a url to the logo, simply save the module and the new logo will appear on the frontend of the website footer (you may need to refresh the frontend website for it to appear in your browser).
Add a new (custom) logo
If the logo that you want to display on the website is not available in our pre-defined list then you can upload your own instead;
- Under the lower 'Custom Portal / Affiliate' section click the green plus symbol to add a new row to the existing custom list (if an empty row doesn't already exist)
- Prepare your logo file as a transparent .png with a height of 45 pixels.
- Click 'Select' and you will be presented with a popup window showing the websites Media Gallery. You will auto load into the affiliates image folder.
- Click Upload to locate your image saved locally on your device and upload it to the folder. It will auto select the image upon upload, then press 'Select' to insert it into the module.
- You will be taken back to the main affiliates module page where you can click Save & Close.
Close the module editor
It is important to follow these steps to avoid locking yourself out of future module edits.
- When you are finished editing the module, click the 'Cancel' or 'Save' button to exit the editor. This makes sure the article is 'checked-in' to the Content Management System.
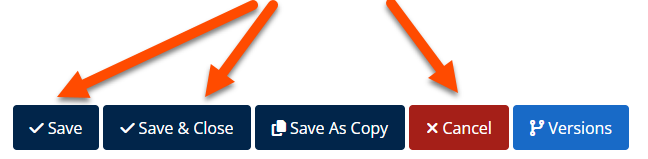
*Failure to do this will lock the page from future edits and will require our input to unlock the page via the backend.
Log out of the website
- Make sure you have saved any changes and click 'Save' or 'Cancel' within the editor.
- Navigate to the login page /login
- Click the Log Out button

Please note:
* Unlike with static page edits, Affiliates do not have version history therefore any deletions or mistakes cannot be undone.